08 September 2013

Use Lattice Die to Make Pop-Up Card


Here is a look at the inside:
20130904_190658
You can see that there are panels covering the top and bottom of the card.  This is attaching the top and bottom of the lattice die to the card which then holds the pop out in the center…
20130904_190500
I had to score this one to get it to fit in the card.
You can kind of see how the lattice works here:
20130904_190627
I cut the lattice die in half, and scored it at every intersection… then glued the end pieces behind the panels and left the center to fold out…
20130901_151420
Lattice die, that I cut in half…
20130901_151425
and scored.
20130901_151517
I glued the ends to the panels that hold them to the card (3×2.25)
20130901_151616
So, this is what the final inside panel looks like.  Then, you glue the ends of the black panels to the card (top and bottom) and you get this…
20130901_151709
This is what you stick the pop up on.  And, you can use this for ANYTHING.  Not just Halloween.  What a fun surprise!!
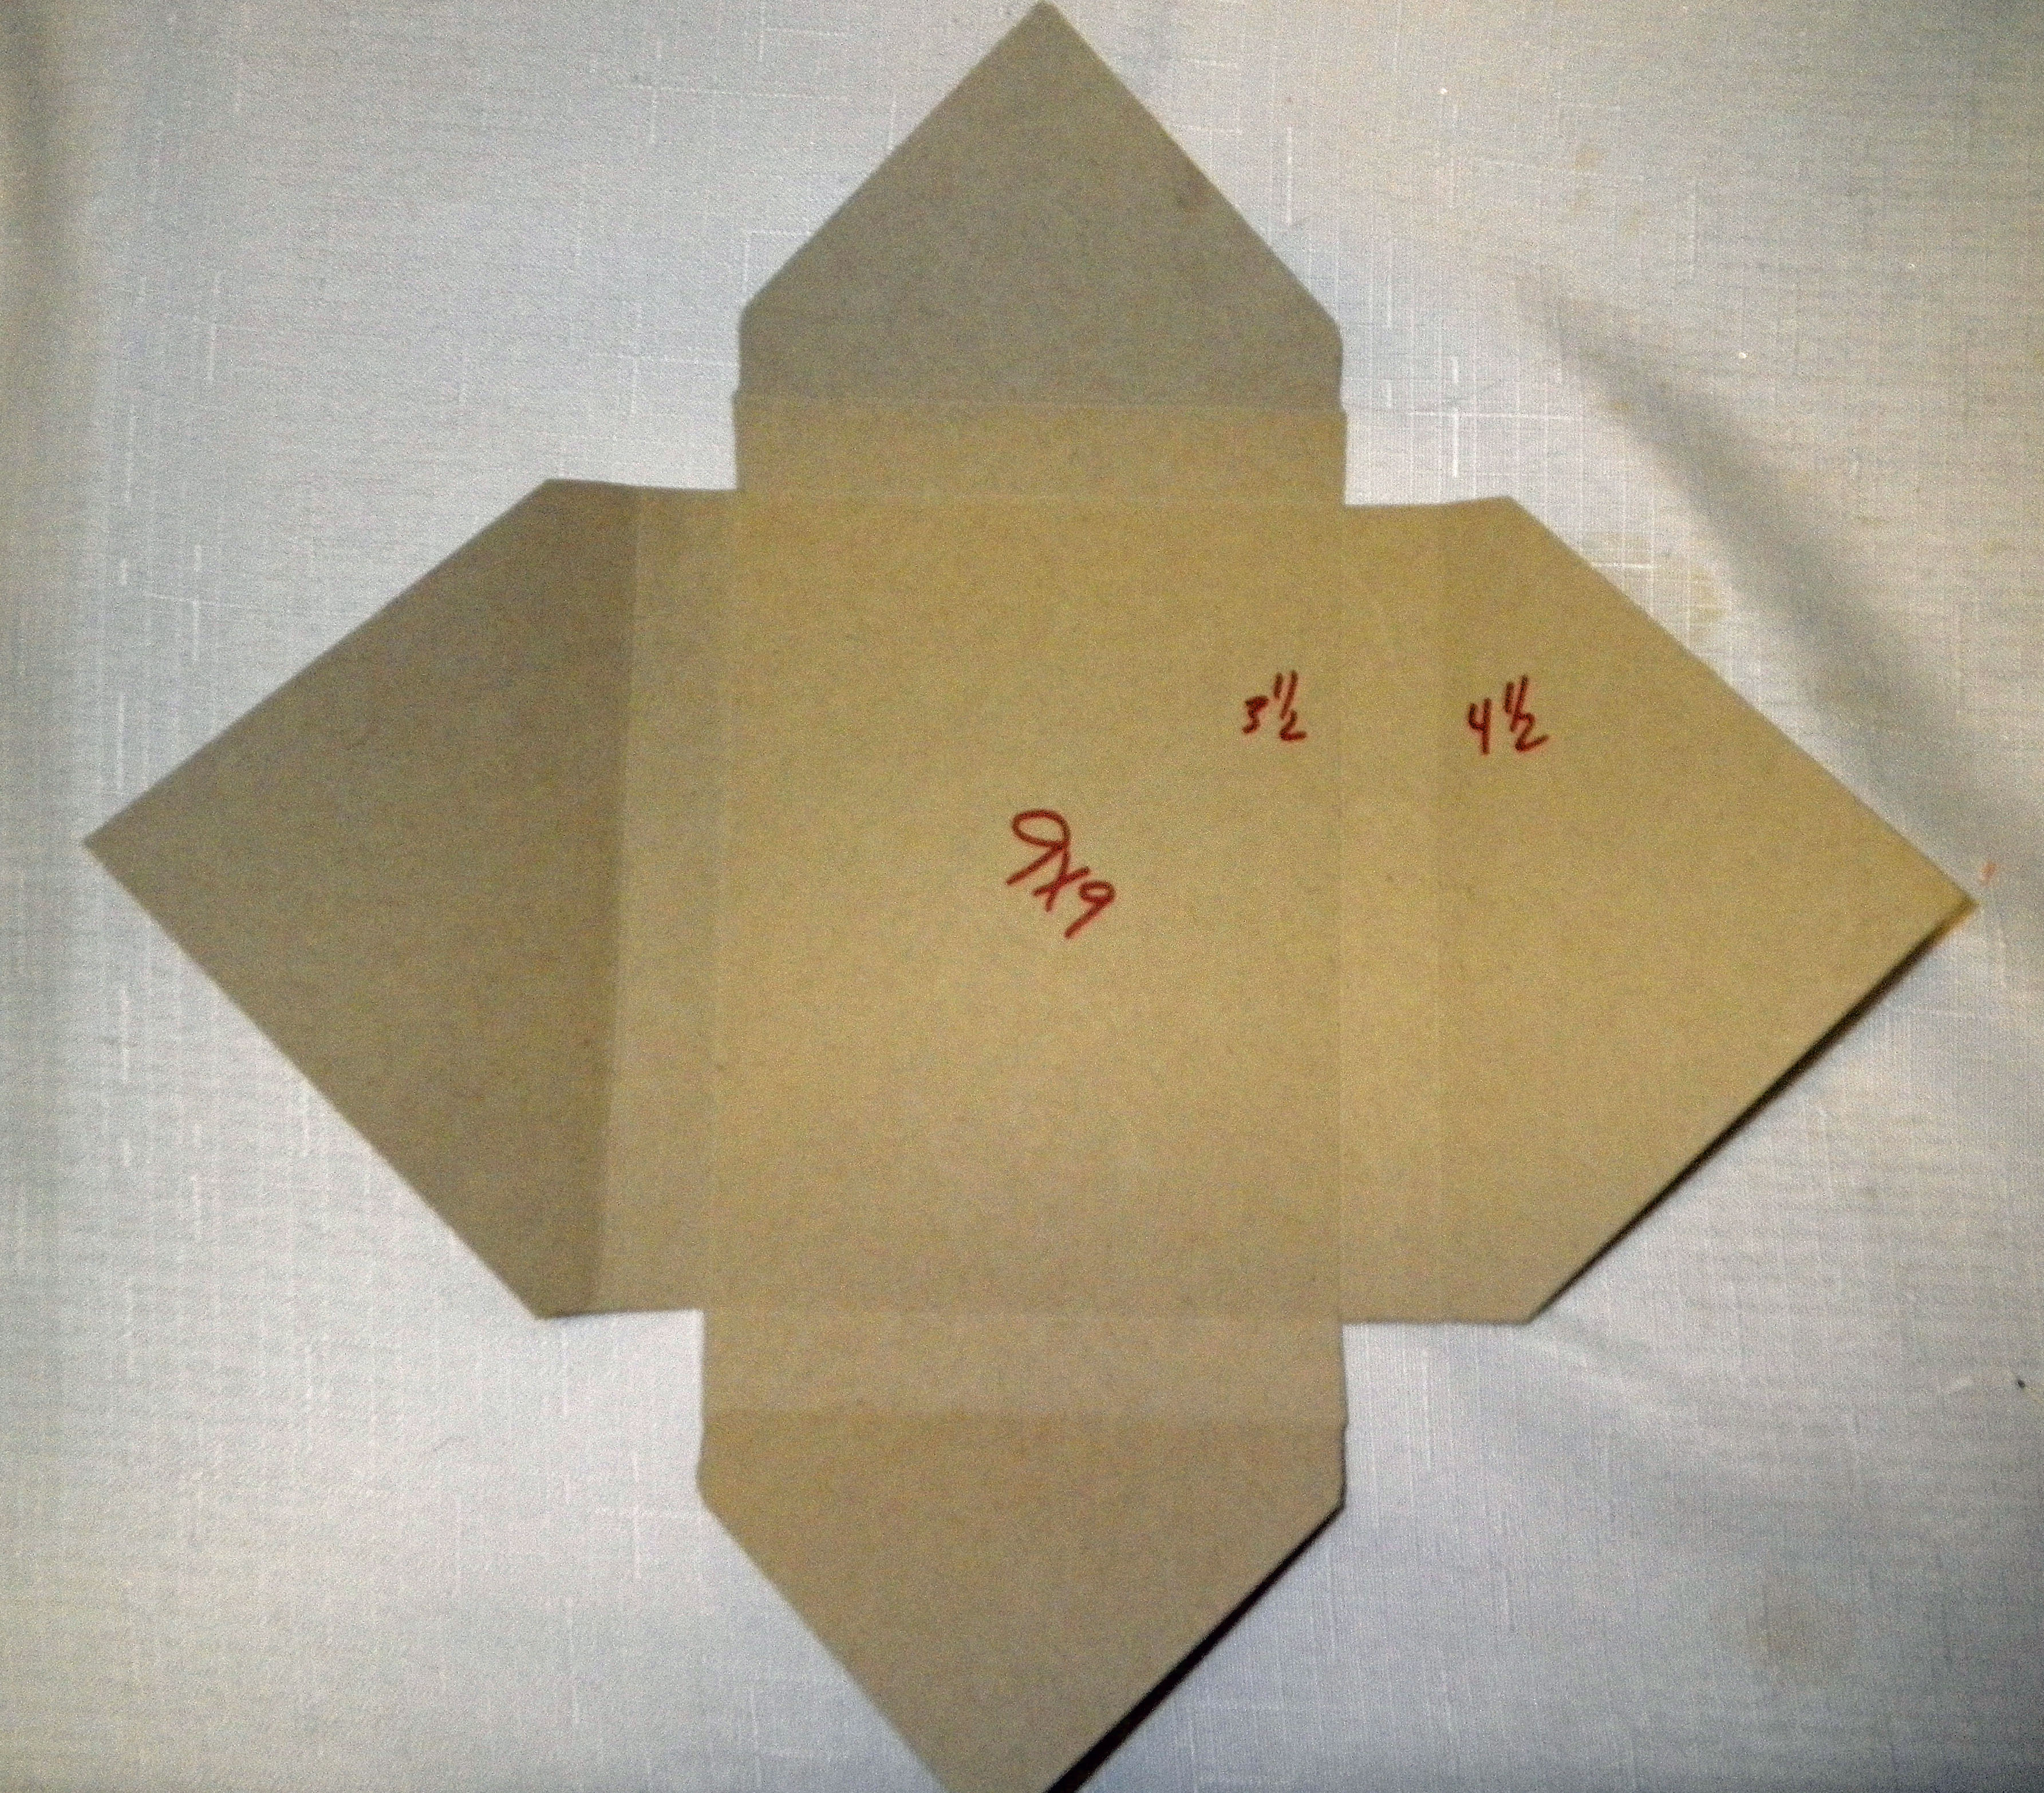
AND, when I was making these, I received my envelope board.  So, I had to make matching envelopes.  Though these are 3×3 cards, I decided to make envies for 3.5 cards (which is a little big) because I was worried that the thickness of the card would not let the card fit into the envelope.
One last look:
20130907_164838 

20130907_164825


Lattice Stampin' Up! Bigz Die

Lattice Stampin' Up! Bigz Die    115958
Price: $21.95
Stampin' Up!'s exclusive Lattice Bigz die create delicate designs from any card stock, Designer Series paper, or other material. Use the Lattice design as an elegant overlay or a focal piece on your project. This Lattice die was designed as a repeatable image, allowing you to create beautiful designs on larger projects as well.
* Can cut through multiple sheets of card stock, Texture Cuts wood sheets, window sheets, Décor Elements sheets, and more
* Use with Sizzix Big Shot machine and standard cutting pads G281
* Die size: 5-1/2" x 6"


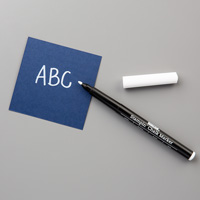
White Stampin Chalk Marker

White Stampin Chalk Marker     132133
Price: $3.50
Is it chalk? Is it a pen? It's a pen that looks like chalk! Get the popular chalk-look with this permanent-ink pen. Perfect for writing on black and other dark-colored papers. Single tip. Acid free.

BRAND NEW CHALK MARKER by SU!  This is a PEN you should definitely get.  It writes so smooth and it is definitely by far the BEST white marker on the market.  


Layer On Layer On Layer Leaf Card - by Susan Carlson


I created several versions of the same style card using different card stock color combinations.  For all of the cards I used Crushed Curry and Pumpkin Pie inks. I also added Cajun Craze to a few of them.  Once completed, the cards needed something "extra," so I added some Crumb Cake splotches from Gorgeous Grunge.  Here they are in no particular order:


I purposefully did not add sentiments to these cards.  It's always good to have all-purpose cards around that are ready to be personalized.

Using the "Magnificant Maple" leaf stamp from Stampin' Up


Item 131868 $9.95


  Susan's Blog

Making A Box Using the Envelope Punch Board


Just a reminder – start with 9×9 piece of cardstock, make your first 2 score marks on the same side at 3.5 and4.5 (all inches)

box1

03 September 2013

A Gift For You Box Card - by Nancy Dawson


A Gift for You

Using one of the new single stamps, I created this little gift box holder. Recognize the container? Yep, one of the brad or button containers (recycle)! Sorry the top picture is blurred but gives you a better view of the container! Makes a nice little gift for the ones you want to remember at Christmas or how about making this for a Halloween treat.


The Label Bracket 132153 punch fits the sentiment from the single stamp (134765). Pool Party CS for the box itself with Winter Frost DSP 132341 accents. I used the Snowflake Bundle 133285 for the decoration accented with a Frosted Finishes Embellishment 132150.


Creating a Card Using the Thinlet Die Leaving Space to Write by Jamie Albanese


Outside The Box Swallowtail Butterfly Card - by Dawn Griffith


 Swallowtail butterfly card


 Here are the supplies we will be using in todays video :
Whisper White card stock# 100730
Swallowtail stamp
  • (w)#131943
  • (c)#129216
Oval Collection Framelits #129381
Big Shot #113439
Multipurpose Adhesive sheets #120805
Dazzling Diamonds # 102023
Pool Party card stock #122924 with the  Pool Party marker to color in the butterfly  on my finshed card .


Thinlets Label Card Video - by Dawn Griffith


23 August 2013

Satin Bow Medallion - by Cathy Parlitisis


Best of Greetings Sympathy

Paper Crafting can be EASY! Four words...Texture, texture, texture - and...yup...more texture!  You can create an entire card with just texture! Crazy but true!  I love Textured Impressions Embossing Folders! They take all the work out of creating!   You can emboss full quarter sheets of cardstock and then cut them up and use the pieces on different card making projects.  I made several of these this morning while my "stuff" was already out!  The center Medallion was creating using the Jumbo Sticky Rounds.  You can see how it's done HERE.
Best of Greeting Sympathy
The Best of 25 Years Stamp Sets are released monthly by Stampin' Up!  in honor of their 25th Anniversary! They have a collection of favorites over the past 25 years.  One of my personal favorites is the Best of Greeting Stamp Set.  (Images below)  It has been my "go to" set over the past couple of months!
Best of Greeting Sympathy
The center of the Medallion is accented using a Vintage Faceted Designer Button and a Large Pearl. It's fun to "layer" embellishments to create a totally new look!
Best of Greeting Sympathy
All Supplies are Stampin' Up! and can be found in my ONLINE STORE.

Best of Greeting Sympathy


Supplies:
  • Very Vanilla cardstock #101650
  • Best of 25 Years - Greetings Stamp Set #133485
  • Chocolate Chip Ink #126986
  • Big Shot Die Cutting Machine #113439
  • Pretty Print Textured Impressions Embossing Folder #132175
  • Square Lattice Textured Impressions Embossing Folder #119976
  • Beautifully Baroque Textured Impressions Embossing Folder #130917
  • Fancy Fan Textured Impressions Embossing Folder #127751
  • Very Vanilla Seam Binding #120999
  • Jumbo Sticky Rounds #127852
  • Vintage Faceted Designer Buttons #127555
  • Large Pearl Basic Jewels #125577
  • Stampin' Dimensionals #104430
  • SNAIL Adhesive Refill #104331
  • Stampin' Paper Trimmer #126889
  • Bone Folder #102300
Best of Greetings

But, if you're like me, you need to SEE it before you're tempted to try it!  So...I did a video (below) using Seam Binding to create the medallion.  So now you have no excuse not to try it!

Here's Cathy Parlitsis' how-to video...
Ribbon Medallion 


 Cathy's Blog


22 August 2013

Wet Embossing


 One of the reason’s I picked the Large Butterfly and the Maidenhair Fern stencils to play with is because they have a nice large open area perfect for inking through. As soon as I saw them I imagined the wet embossed projects I could create with them.


One of the reason’s I picked the Large Butterfly and the Maidenhair Fern stencils to play with is because they have a nice large open area perfect for inking through. As soon as I saw them I imagined the wet embossed projects I could create with them. - See more at: http://papercraftplanet.net/2012/06/14/dreamweavers-stencils-thursday-tutorial-and-giveaway-wet-embossing/#sthash.qiKAjplZ.dpuf


Begin by laying your stencil down on your cardstock. You can tape your stencil in position if you need, but if you’re careful in inking it shouldn’t shift much. Now take your embossing ink and press it down onto the stencil. Be sure to ink the paper well. For areas with thin lines, you can use the edge of your ink pad. Carefully lift up your stencil and place it in your bucket of water to be cleaned. Sprinkle embossing powder onto the inked cardstock. Tap off the extra. If you have any stray flecks of embossing powder, use a paint brush to brush them away. Now it’s time to heat your embossing powder.

Embossing with your stencils is as easy as that! Now that you know how to wet emboss with the stencils, think of all the variations you can do. In this next sample, I embossed it first with green embossing powder.  I went back and added a Deep Impression embossing powder while the green embossing powder was still molten hot. This  layer of embossing powder will cling to the hot embossing powders. You can continue to do this to build it up to a thick embossed layer. Just be sure to work quickly. Once the embossed image cools, the embossing powders won’t stick.

You can add Distress inks to the background after the embossed area has cooled. The embossed area will act as a resist for the ink.


Emboss on vellum for an elegant, classic look.


Try dry embossing the image first and then wet embossing the raised image. In this next sample, I embossed the butterfly using a light box. While the stencil was still in place, I inked up the raised image.


One of the things I love about this butterfly stencil, is that the stencil is in the shape of the butterfly. I simply traced around it, to cut out the butterfly. To create the card, I cut out two more additional butterfly shapes and adhered the top wings to form a card. I glued the body of the embossed butterfly to the card front and lifted the wings to give it dimension.


Supplies used: Dreamweavers Stencils (LJ 916 Butterfly, LJ 846 Maidenhair Fern), Tsukineko Versamark ink, Ranger Distress Ink, Stampendous embossing powders, heat tool

If you’re looking for more information and tutorials on working with Dreamweavers Stencils, be sure to visit the Dreamweavers Blog and the Dreamweavers Facebook page. Their Design Team creates some amazing work!


Begin by laying your stencil down on your cardstock. You can tape your stencil in position if you need, but if you’re careful in inking it shouldn’t shift much. Now take your embossing ink and press it down onto the stencil. Be sure to ink the paper well. For areas with thin lines, you can use the edge of your ink pad. Carefully lift up your stencil and place it in your bucket of water to be cleaned. Sprinkle embossing powder onto the inked cardstock. Tap off the extra. If you have any stray flecks of embossing powder, use a paint brush to brush them away. Now it’s time to heat your embossing powder.
Embossing with your stencils is as easy as that! Now that you know how to wet emboss with the stencils, think of all the variations you can do. In this next sample, I embossed it first with green embossing powder.  I went back and added a Deep Impression embossing powder while the green embossing powder was still molten hot. This  layer of embossing powder will cling to the hot embossing powders. You can continue to do this to build it up to a thick embossed layer. Just be sure to work quickly. Once the embossed image cools, the embossing powders won’t stick.
You can add Distress inks to the background after the embossed area has cooled. The embossed area will act as a resist for the ink.
- See more at: http://papercraftplanet.net/2012/06/14/dreamweavers-stencils-thursday-tutorial-and-giveaway-wet-embossing/#sthash.0n6Ud90X.dpuf


Making Clay Roses Using Stampin' Up! Simply Pressed Clay - by Kirsteen Gill